

5 Tips For Nailing Your Next Nailfie
This is a weird thing to say out loud, but I've taken a lot of "nailfies" (pictures of my nails) over the past few years. I also look at a lot of nail photos every day to stay up to date on trending patterns and colors for manicures. Instagram and Pinterest are filled with beautiful nailfies... but trust me when I say I've seen some not so beautiful photos, too!
Taking pictures of your own hands and nails can be really awkward! I can't tell you how many nail pics I've deleted from my phone. It can be tricky getting the right angles and lighting. Add in props and backgrounds, and you're at a whole other level of potential cringe!
Needless to say, I've gotten much better at taking pictures of my manicures, and I have a few tips and tricks that will help you nail your next nailfie!
1. Lighting is key
When it comes to taking pictures of your new manicure, natural light is your friend! Find a window inside or some open shade outside for soft, diffused light that is bright enough to create a well-lit photo. Avoid direct lighting, which can create harsh shadows. Artificial light can also be too harsh and can sometimes make your skin tone a little off in color and smoothness.
2. Hydrate and moisturize
All manicures need a good foundation in order to look their best. Make sure your hands, fingers, and cuticles are hydrated and well-moisturized. This will help give your "nailfie" a fresh glow. Staying properly hydrated in general will keep your hands from drying out and cracking. Use a cuticle oil or cuticle balm to prevent hang nails and cracked skin.
3. Neutral backgrounds
When your manicure is looking super cute, you want the focus to be on your nails and not on what's going on in other parts of the photo! Find a neutral, solid background (next to great lighting!) for an optimal nail photo. A background that is too busy will distract from your beautiful nails! (Confession: I take most of my nailfies in the bathroom, which has perfectly soft lighting from the window, using the shower as my background, which is a nice neutral beige color!)
4. Portrait mode
If you have "portrait mode" on your phone's camera, take advantage of it! Most of the time your phone will recognize your hand as the photo's main subject, and it will subtly blur out the background. This will make your hand, and your new manicure, really pop in the photo! Portrait mode is also great for blurring out any clutter or other objects in the background that might make the photo too busy.
5. Ditch the "claw"
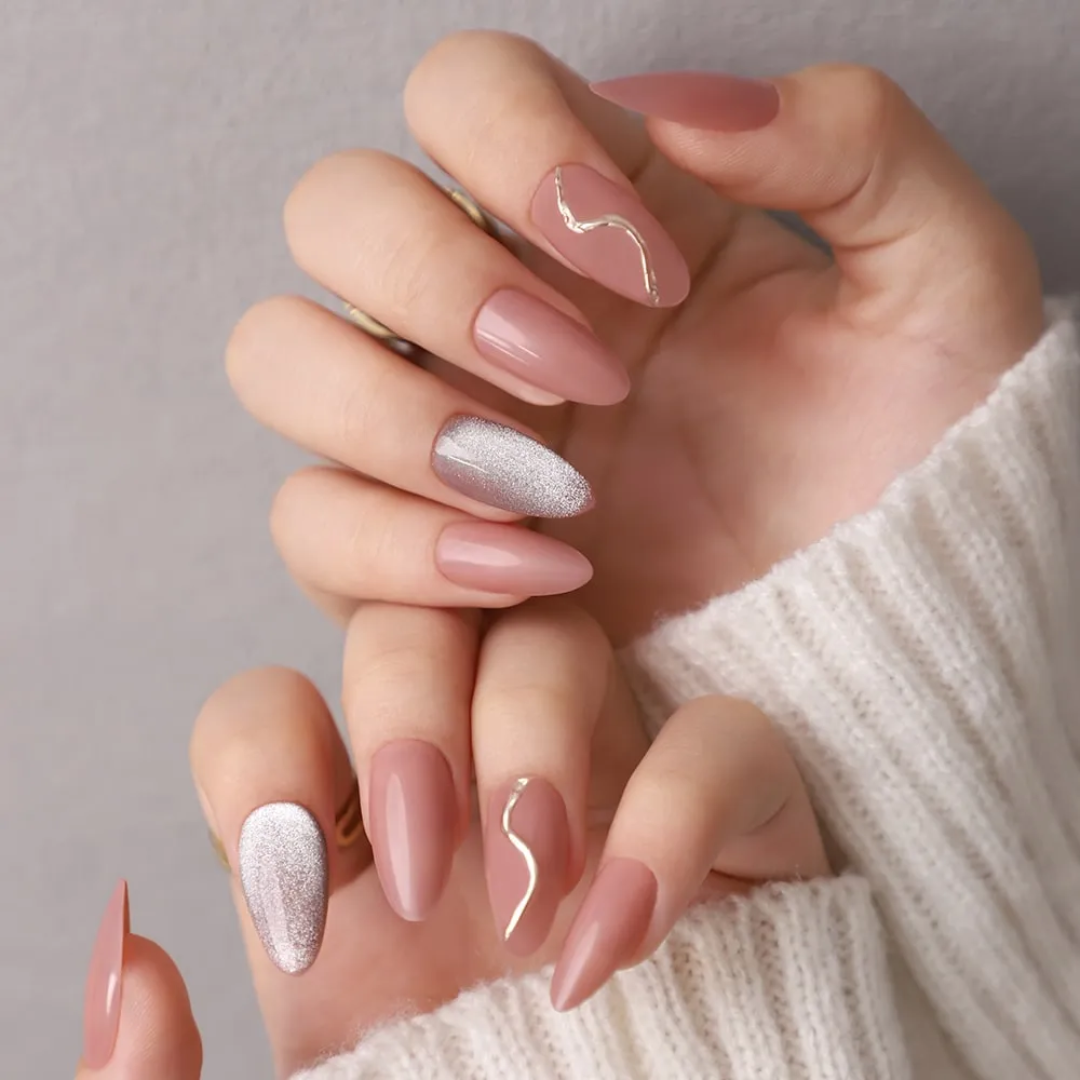
Okay, this one is my personal pet peeve when it comes to photos of your nails. You know the "pose" I'm talking about - the one where it looks like you have a death grip on a hot dog. I get it, you want to include your thumb nail in the pic, and it's hard to show it off otherwise! But I promise your photos will look much nicer if you relax your hand into a natural "fist" position with your thumb pointed up. And no need to squeeze! Keep your fingers relaxed. To mix it up and give it a more artsy feel, play around with the angles and positions of your fingers, but keep the thumb to the side.


%20over%20the%20past%20few%20years.%C2%A0%20I%20also%20look%20at%20a%20lot%20of%20nail%20photos%20every%20day%20to%20stay%20up%20to%20date%20on%20trendi...)